Collection of Layer Effects
In our first article we covered how we can write a simplified Photoshop-style API for displaying multiple textures on the screen, and we have since extended the code to several extra features:
Adding Parallax scrolling to your XNA code
Adding video layers to your XNA code
Reporting performance statistics in your XNA code
Adding 2D Pixel Effects to Layers
Our previous article extended the Layer code to allow a collection pixel shaders to be applied by the GPU. As promised, in this article I’ll deliver a collection of shaders which you can use in your code.
The pixels shaders are in the content folder’s ‘FX’ sub-folder, which your code can either use directly, or by using the C# wrapper classes I provide (which allow easier access to any parameters the shader supports).
If you want to add your own shaders with the Layer code, then note that is you add a shader parameter called ImageWidth and/or ImageHeight, then these values will automatically be set when the effect is applied to the layer. Very handy. Implemented here:
/// <summary>
/// A 'simple' effect, directly wrapping an XNA Effect object.
/// </summary>
public class SimpleEffect : ILayerEffect
{
    public Effect Effect { get; private set; }
    public SimpleEffect(Effect effect)
    {
        Effect = effect;
    }
    public virtual void SetParameters(Texture2D source)
    {
        var parameter = Effect.Parameters["ImageWidth"];
        if (parameter != null)
            parameter.SetValue(source.Width);
        parameter = Effect.Parameters["ImageHeight"];
        if (parameter != null)
            parameter.SetValue(source.Height);
    }
}
Let’s get started…
NegativeEffect
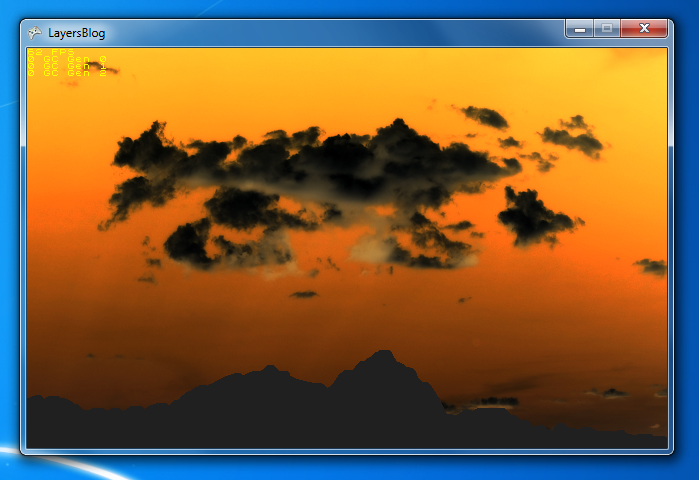
One of the simpler effects, this screenshot shows our ‘clouds’ image displayed in negative, with an unchanged ‘mountains’ layer superimposed on the top.
There are no parameters for this effect - Just add it to a Layer’s collection of Effects to see it work.
PixelateEffect
![]()
This Effect artificially lowers the apparent resolution of a layer.
I can see this being used as a transition from one image to another - Just increase PixelateEffect.GridSize until the pixels are huge, flip to another image with the same settings, then reduce the grid size back down to 1.
ShowTransparencyEffect
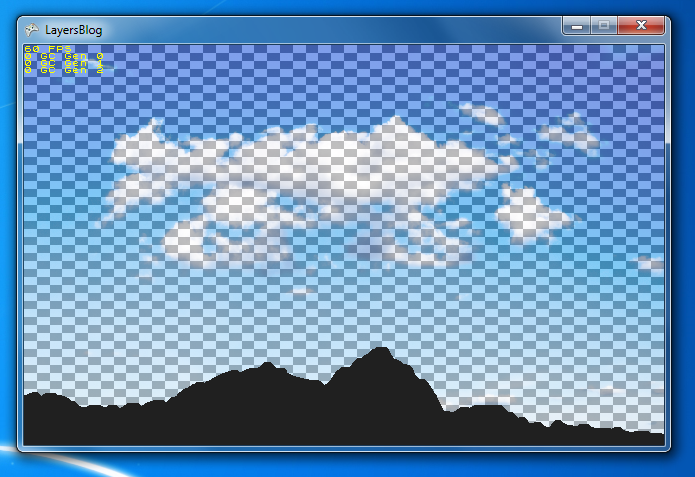
This Effect allows you to see where the transparent parts of an image are, without overly obstructing any other layers beneath. The sceenshot shows the Effect applied to our ‘mountains’ layer, whilst still showing the underlying ‘clouds’ layer.
The size of the squares are customizable using ShowTransparencyEffect.GridSize.
ScanlineEffect
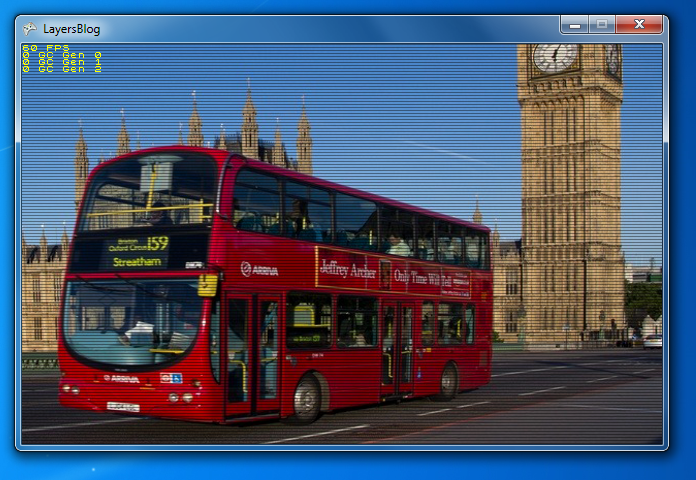
Want to add a retro theme to your game? Just add scanlines. Done.
Note: You’d usually want to add this to the end of the Effects list. If you try using NegativeEffect or PixelateEffect after ScanlineEffect you’ll probably get unwanted results.
SepiaEffect
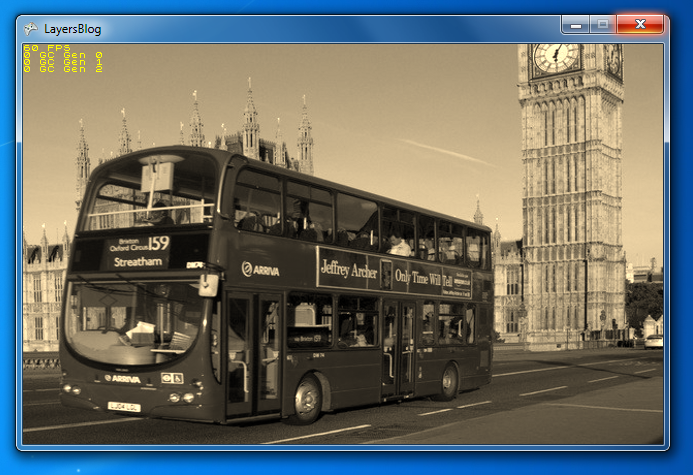
An old favourite.
There are no parameters required for this Effect.
OpacityMaskEffect
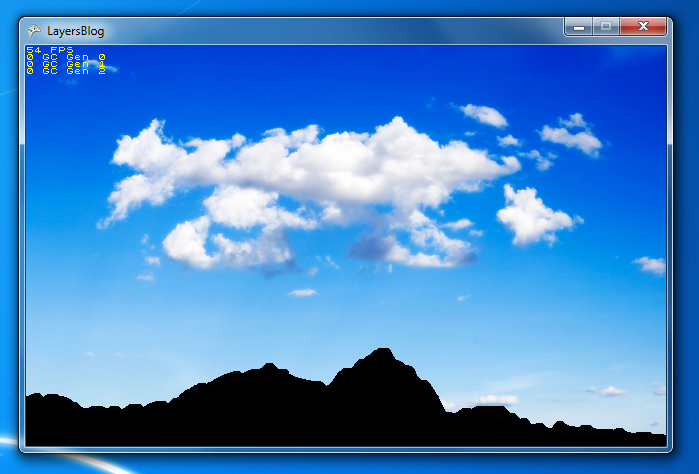
The ‘mountain’ layer has this effect applied, which simply shows pixels in one of two states. Non-transparent pixels are black, transparent pixels are unchanged.
I wrote this as a debugging aid to make it clear which part of our sprites was being used in our per-pixel collision detection code.
There are no parameters required for this Effect.
SaturateEffect
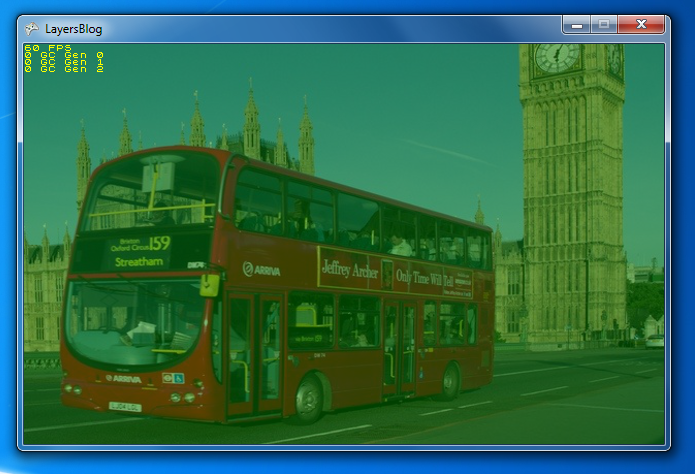
Want to fade a screen to black, then fade in to another screen? Then this is the Effect for you…
Specify a target color (SaturateEffect.TargetColor) and an amount to fade (SaturateEffect.Saturation) and this filter will linearly interpolate each pixel’s color to the target.
You could use this to quickly ‘pulse’ the screen white if a bomb goes off in a game, or perhaps use it to fade a screen to black...
Combining Effects on Multiple Layers
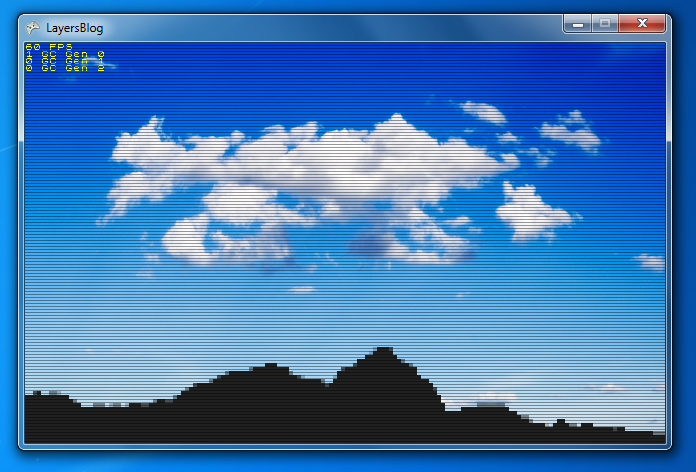
This screenshot shows how an Effect applied to a Layers object can be used in conjunction with effects applied to its child layers.
● The base layer shows clouds, with no effect applied.
● The next layer shows mountains, which use the PixelateEffect.
● The single Layers object (the parent of the two previous layers) then has a single ScanlinesEffect applied.
If you find them useful then please let us know! It’s always good to see a few screenshots showing us how you’re using our code. We might even add them to a gallery on our website for the world to see!
You can download the full source from the link below.

